Last Updated on July 3, 2023

Whether you bought your RV brand new or you got a fixer-upper, our taste tends to change over time. And one of the main spaces in your RV is your table and seating area, not to mention it’s a large focal point. With all the use of an RV, those dining tables can get rather dirty and beat up, which leaves them in need of a little TLC.
That’s where this quick epoxy resin DIY comes in. You can get a brand new-looking table, with your ideal style and color, that will last years in one weekend with an Epoxy Resin Table Top.
Gathering your epoxy project supplies:
Preparation is key when it comes to any epoxy resin project. Epoxy is a fantastic material to work with, but without the proper materials and following the instructions carefully, your project can end up less than ideal.
Here are the basics of what you should gather:
- Art resin
- Three one-gallon buckets
- PPE (gloves, mask, googles)
- Tarp or drop-cloth
- Mica powder
Once you have your supplies you can begin the other key elements to preparation. In order to understand how much epoxy you need, be sure to measure your table and leverage an epoxy calculator to help with the math.
In addition to understanding how much epoxy you need, the next step is to begin to prep your surface. Depending on your setup, you can remove your table from the RV into a garage or preferred working area, but if it is stationary you can work in the RV, just be sure you have proper ventilation.
Get your table on a level surface, your drop cloth on the floor, your PPE on, and lastly have everything you’ll need at the ready (like your gallon buckets)!
Mixing and pouring your epoxy resin:
The next important step to your epoxy project is by creating the proper mixture. Epoxy resin comes in two parts, both A and B. Read the epoxy directions closely to understand the exact mixture ratios so your table comes out perfectly.
Once you have your epoxy mixture complete, you now have the ability to add in your mica powder to color your table. One of our favorite tricks is taking a part of your mixed epoxy resin and sampling out your colors. This will allow you to be sure that you get the color you were aiming for.
With your epoxy mixed and your color added into the final batch if you choose, you can now begin the pour. Make sure that your tabletop surface has all debris removed such as any dust particles, and then you can pour. Hold your epoxy resin mixture close to your tabletop surface to reduce the number of air bubbles that get mixed in as well as reduce splashing.
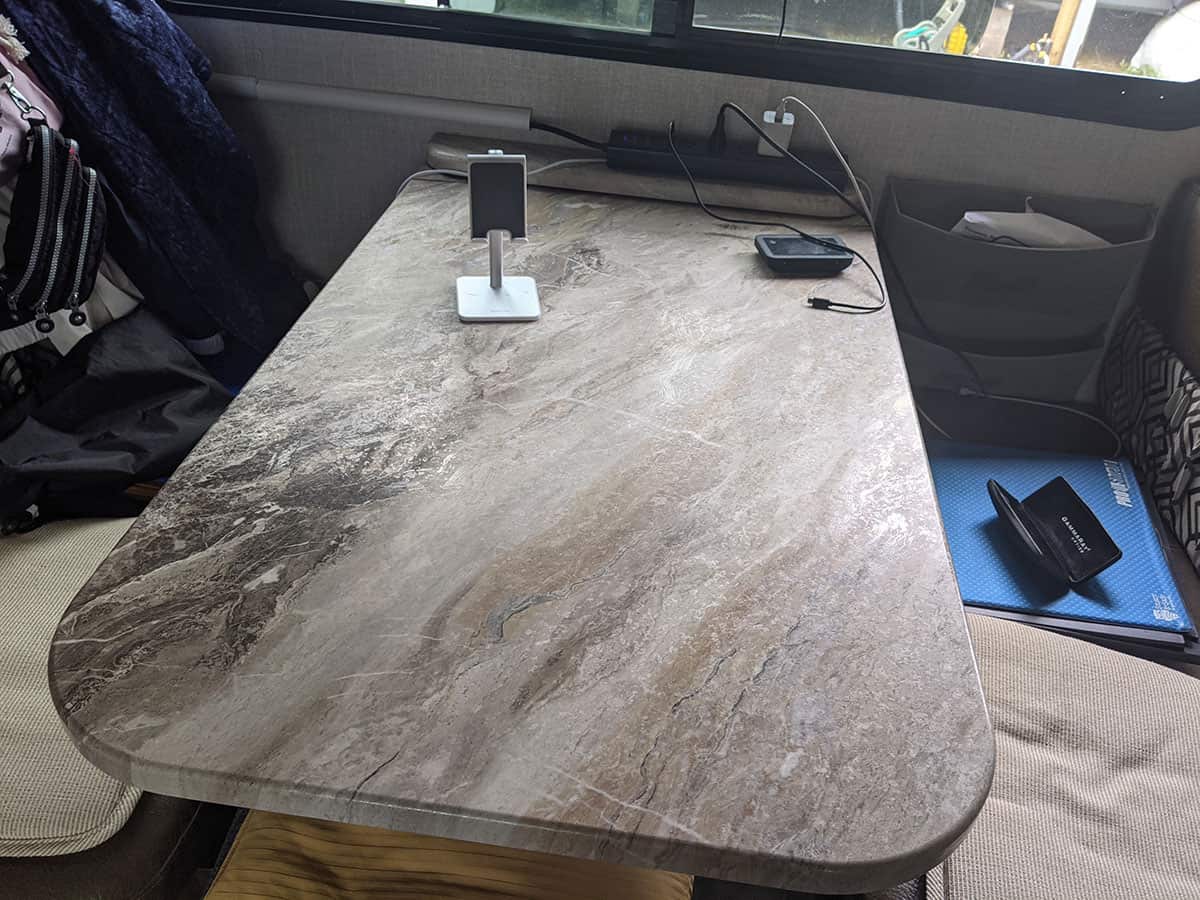
Finishing your epoxy project:
With your RV tabletop completely covered in epoxy resin, it’s time to let your project cure. Depending on how thick your pour is, your cure can take anywhere from 48-72 hours. This will give it enough time to completely harden and get a perfect shine.